Want to know how to design a kitchen island that works?
From a design and practical perspective, kitchen islands are all the rage now, and it’s easy to see why.
They tick several boxes in terms of storage, counter space, aesthetics, practicality and entertaining.
They don’t just look great – they can transform a kitchen into something quite special.
However, not all kitchens can cater for an island and they do demand necessary space, otherwise they can become a hindrance and a bulky overindulgence.
The scale and layout will determine what works and what doesn’t, so before you rush in, consider the following eight key points to designing your dream kitchen island.
Check out the entire article to get the full picture:


- Shape & Orientation
- Scale & Size
- Worktops
- Appliances
- Lighting & Extraction
- Seating & Entertainment
- Everyday Use
- Different Shapes
Shape & Orientation
Assuming you’ve established your kitchen is large enough to house an island, your first consideration should be its shape, positioning and orientation to the existing kitchen and walls. The last thing you want is your island to become obstructive or a nuisance. If for example your room is rectangular in shape, you may wish to have an island that compliments the existing layout. So it makes sense to position the orientation of the island’s longest edge parallel to the longest wall so that it flows with the rest of the room. This will help to maintain an open plan feel and prevent your island from blocking walkways and natural corridors through the floor space.Even small kitchen islands can add huge impact. Image credit: Bee Home Decor
Scale & Size
Islands are generally used as a base for the hob or sink, so if you want to use it for cooking and entertaining, it will need a lot of practical food preparation areas. Likewise, if it will be for cleaning up, you may want plenty of surface space for dishes, pots and pans after eating. So either direction requires a decent amount of worktop area. As a general rule, islands are more popular as a central cooking position, as the host can face into the room towards their guests whilst cooking a meal, and still be engaged in conversation and chitchat. If this is the case, you would want your island to be at least 2.5 to 3 metres in length to allow for the hob and preparation areas. And if you intend to have bar height stools at the island, room for your guests to enjoy a drink needs considering too! If you intend to have a sink installed on your island, you still need plenty of room for the drying area and any plates, pots and pans to stand whilst you clean up. So the above measurements would most likely apply here too.Using a mixture of countertop materials can create a really original look. Image credit: Freshome
Worktops
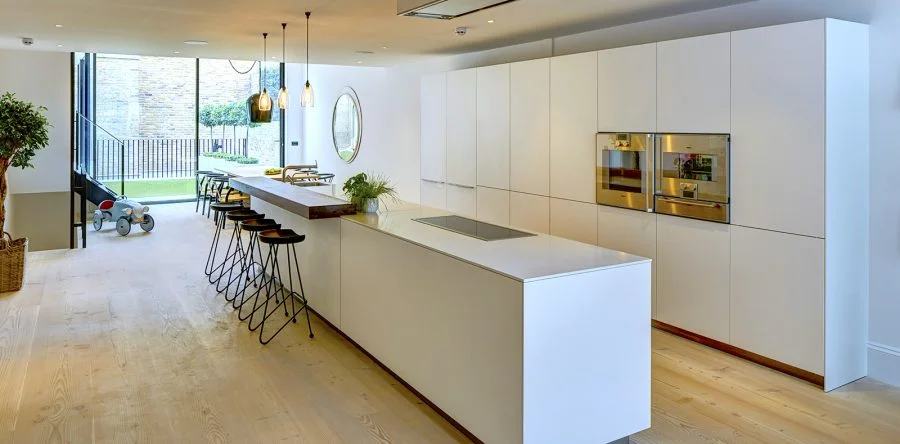
The colour, quality and material of the work surface of your island is critical to how the finished product will look and impact your kitchen. It’s worth noting that your island will look so much nicer using a continuous piece with no joins. So if you have grand plans to build a very large island, certain materials such as granites and quartz tend to be limited in length. Unless you want an unsightly join showing on your beautiful new work top, it might be wise to consider an island that does not exceed 3.0 to 3.2 metres in length. If however your island is going to exceed that size, there are ways to achieve a great look through mixing and matching materials, rather than trying to conceal a join. You could for example, create an interesting contrast by using butchers block at one end, with quartz or granite at the other. Or you could use two contrasting coloured stone surfaces to create different usable areas of the surface. Some islands look great when they are broken up into zones using polished metal sections around the sink or food preparation areas. They create a very sleek, modern feel to a contemporary kitchen design. You could also create sections of worktop with differing heights for various uses, whether as a bar for entertaining, a display area for condiments and stowing useful items or lower down for the kids to eat breakfast.Kitchen Island with Gas Hob. Image credit: Kapitu
Appliances
Depending on your preferred practical use, your island may need to house an appliance such as an oven, hob, microwave, dishwasher, sink, a small refrigerator or wine cooler. If so, planning ahead is crucial. Your first priority before your kitchen installation even begins, is to speak to your contractors to ensure all necessary electrical and plumbing first fixes are planned well in advance. Without this, your project could get a great deal more expensive than you had hoped, so save time and costs by getting all necessary utilities in place first. Even if appliances aren’t in your plans, you may need electrical sockets to use blenders, juicers or food processors. Things that are easily forgotten until you realise what you need when its too late.Hanging pendant lights are very popular above kitchen islands. Image credit: Decoist
Lighting & Extraction
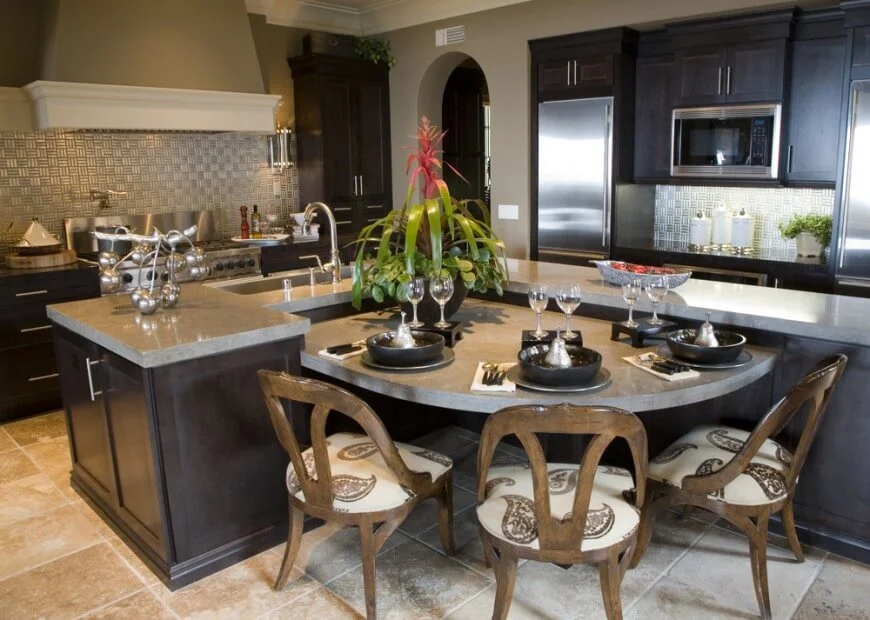
Most homeowners overlook these two important issues however, they form a vital practical as well as aesthetic contribution to any kitchen island design. If you intend to spend the majority of your time at the island, whether cooking or cleaning, then having adequate lighting is a necessity. If there is a lack of natural light from above, then down-lights are a great way to accessorise an island, as well as illuminate the work surface area. Around 80% of kitchens island have a hob installed so extracting smoke, steam and food odours away from the cooking area (and the rest of the house) is a key problem to solve. If your ceiling space allows, an extractor hood would be the most obvious solution however, a large ceiling mounted extractor and flue can be quite unsightly and dominate your kitchen island in all the wrong ways. A better solution is to install an integrated pop-up or downdraft extractor that sits directly behind the cook top. When in use, it rises from below the work surface line and provides filtration and light all in one, as well as acts as a very useful backsplash to stop cooking mess from spoiling the back of your island. When not in use, it simply disappears below the work surface line and keeps the overall look clean and tidy.Kitchen Islands make the ultimate entertaining space. Image credit: HGTV
Seating & Entertaining
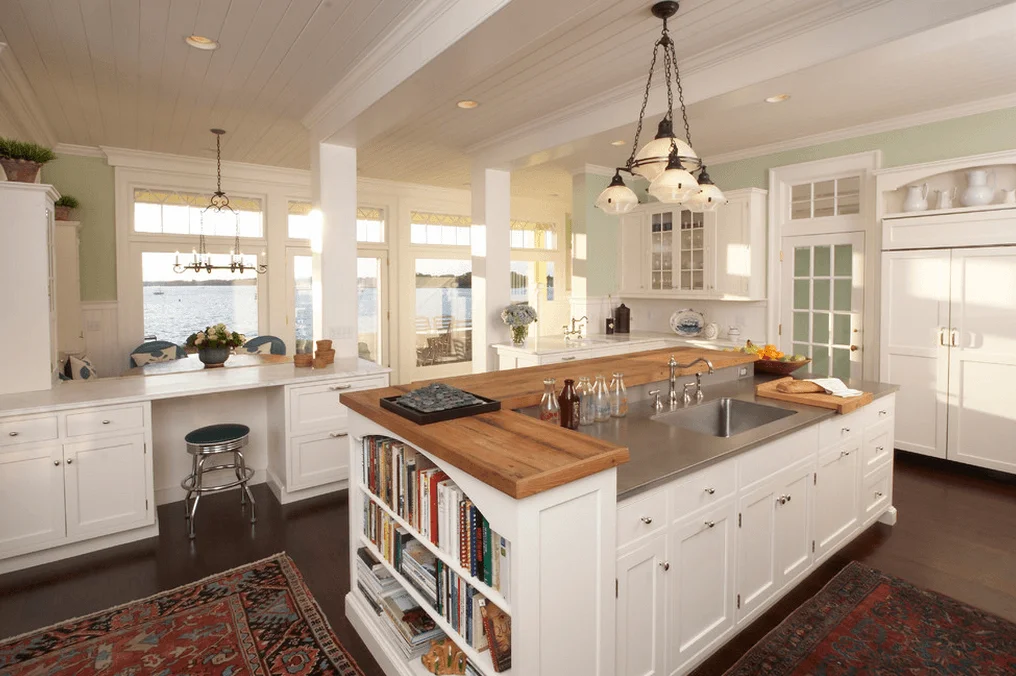
Kitchen islands naturally lend themselves to being the perfect sociable setting, so its easy to see why most homeowners want to include a seating area. As most islands are rectangular in shape, a typical seating area is usually placed at one end of the island along the short length. Most islands allow for up to four seats which should be plenty for entertaining a small group. However, if your space around your kitchen is tight, you need to ensure there’s plenty of room to walk around if people are seated at the island. Generally, you should allow 50-60cm of space from the edge of the work surface to the back of the stools, and 30cm of knee space for an average-sized person. So with this in mind, you need almost 1 whole meter of clearance around your island before taking the walkways into consideration.L-Shaped Kitchen Island with Dining Area. Image credit: Home Stratosphere
Everyday Use
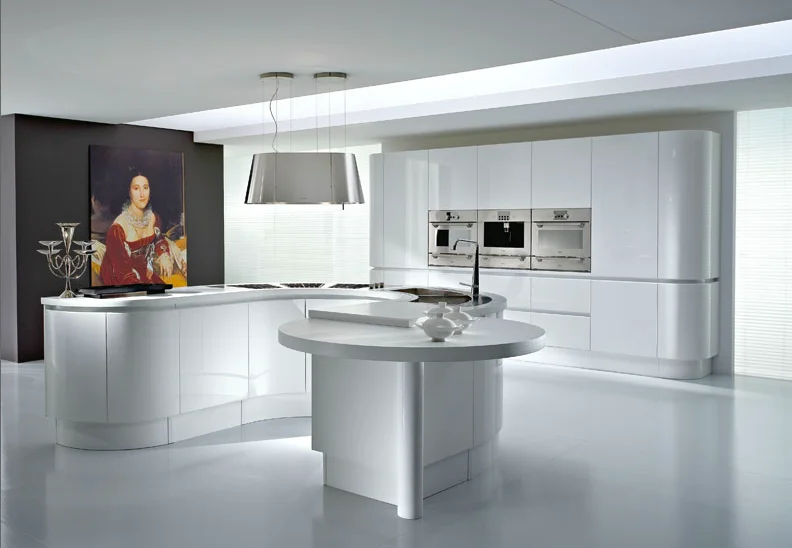
If you have a large family and there are children in the house, always take their needs into account as well. If your kids are still young, having a lowered part of the work-surface is a great way to get them to enjoy the islands seating areas too. A small sectioned dropdown area at one end of the island of just 1 metre squared is easily sufficient enough to house 4 small stools. Or you could create split levels along one full-length edge for the children, whilst the raised area is for food preparation and cooking, keeping things nice and separate.Curved Islands also look beautiful in modern kitchens. Image credit: Home Designing